Knowledge is power, and in this case, knowledge of your HVAC unit can empower you to fix minor issues.
The more you know about the basic issues that can crop up in your unit, the easier it will be to diagnose and fix those issues.
Educating yourself on common HVAC malfunctions can save you time and money and help your system function optimally for the average 10–25-year life span.
With that in mind, here are 5 HVAC troubleshooting techniques every homeowner should know.
Note: These tips may not provide permanent resolution to problems with your unit, but they can get your unit temporarily up and running until help arrives. Often the underlying problem will persist, so it’s wise to get a maintenance visit.
1. Check your air filter.
If you notice that your unit has shut off: it’s time to check one of the most overlooked yet critical components of your HVAC unit – the air filter.
Dirty or clogged air filters can significantly impact the performance of your HVAC system and cause a range of issues, from decreased efficiency to system malfunctions. To keep your HVAC unit in top condition, we recommend you change your air filter regularly. The frequency at which you need to change your air filter will depend on the MERV (Minimum Efficiency Reporting Value) rating of the filter you’re using. For filters with a higher MERV rating, it’s recommended to change them every 30 to 60 days, while filters with a lower MERV rating can be changed every 60 to 90 days.
Maintaining your air filter is a simple yet effective way to keep your HVAC system functioning optimally and to get it back to running again if it malfunctions. So, remember to check your air filter and replace it according to the manufacturer’s recommendations to ensure your HVAC unit stays in excellent condition.
Learn more about all things air filters in our previous post here.
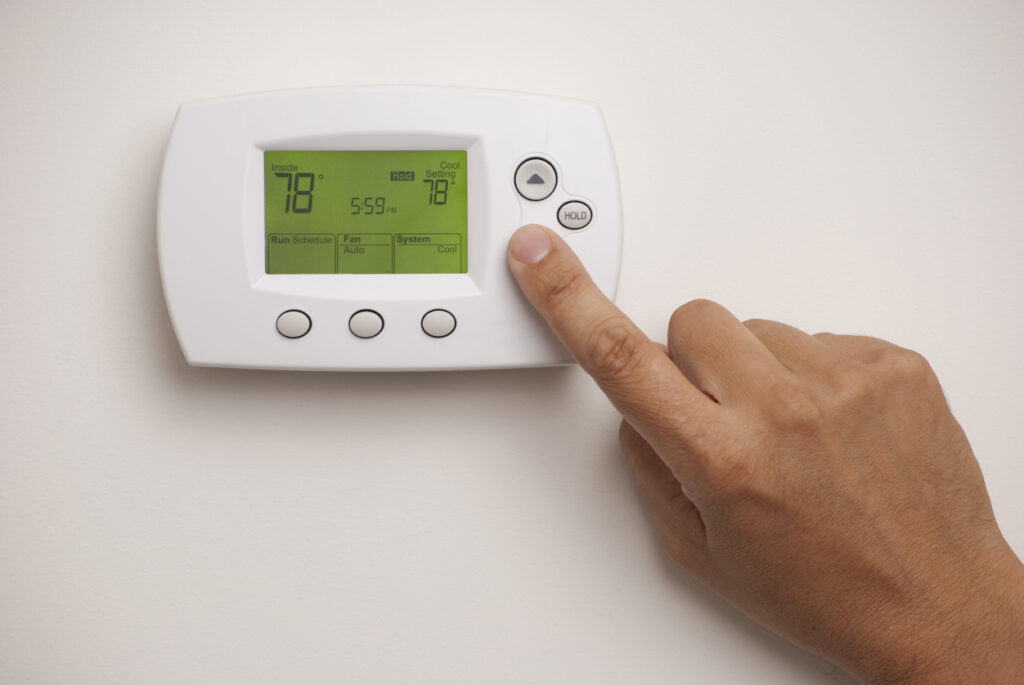
2. Make sure your thermostat is working.
When your unit “goes down” or stops working, there’s another component you should immediately turn to— your thermostat.
Locate your thermostat and begin your troubleshooting.
To start, answer these questions:
- Is the display on?
- Is the display accurate (set to heating, cooling, or auto, depending on your preference and season.)
- Can you change the settings?
If the display is dark and unresponsive, it might be an electrical issue or a faulty thermostat. If your thermostat is at the right setting, but your unit is malfunctioning, it may be another issue.
While most homes have a digital display thermostat that runs on electricity, many thermostats are also equipped with batteries that keep the display functioning even when power is lost.
Unfortunately, if your thermostat is only running on these backup batteries, it’s not connected to or controlling your unit’s heating and cooling functions.
If you suspect your thermostat is not connected to your unit, switch the fan setting on your thermostat from the “auto” to the “on” position. Then locate your unit fan. If your fan begins to move, your thermostat is still running on your unit’s power and is still connected. You can move on to the next step to find the issue.
If your thermostat is still connected to your unit, but the display is blank, you may need to change the batteries to power the display itself.
Note: Even if your unit is functioning well, take the time to see if your thermostat is equipped with batteries and how to change those.
3. Reset your unit.
You may need to reset your unit if none of the techniques we’ve covered so far have solved the issue. Sometimes, your unit goes into a “lock out” or “safety” when it senses a problem. So, like resetting a clock, you need to reset the power to your unit.
To reset your HVAC system, start by turning off the power source to the unit. This is typically done by switching off the circuit breaker. Once the power source is off, wait for about a minute before turning it back on. This gives the system a chance to reset itself and start fresh.
If there is a faulty fuse, you’ll need to replace it with the correct one (once the power is off). Knowing what types of fuses your unit uses can speed this process along. If you need help determining what fuses are required for your unit, reach out to our on-call technicians for assistance in purchasing the correct fuse or learning how to change them.
Next, turn on the thermostat and set it to the desired temperature. Make sure the fan is set to “auto” and the system is set to “cool” or “heat,” depending on what type of issue you’re trying to resolve.
If the issue still persists after resetting the HVAC system, it may be a more serious problem and require professional attention. In that case, don’t hesitate to reach out to your local friendly HVAC technician for help with repairing the issue.
4. Clear your drain safety.
This step is mostly for AC malfunctions but can happen with heating systems. Here’s the rundown: your unit is equipped with a drain safety and float switch. These can shut off your unit if there is a blockage or too much water collection. This component might be the issue if there are blockages in your drainage system or water in the pan under your drain.
To clear out your drain, here are a few methods to try.
- mix bleach and hot water, then pour down your drain
- carefully insert a coat hanger to clear blockages
- and make sure your condensate pump is functioning
Check out this video for a more in-depth look at clearing your AC drain line.
5. Cool down your unit.
If your unit is overheating, it will shut off to protect itself. A simple solution is to cool off your unit.
Here’s how to do it:
- Turn off the power: Before starting, make sure to turn off the power to your unit by switching off the circuit breaker or removing the fuse that powers it.
- Clean the exterior: Use a garden hose to gently rinse off the unit’s exterior, paying extra attention to the fins and grills, which tend to collect dirt and debris.
- Clear away debris: Use a soft brush or cloth to gently remove dirt or debris from the fins and grills.
- Let it dry: Once you’ve finished cleaning the unit, let it dry completely before turning the power back on.
By hosing down your unit when needed, you can help get your unit up and running again. Just make sure always to follow the proper safety precautions and never use a high-pressure washer on your A/C unit, as this can damage it.
Ready to Fix Your HVAC System?
Taking the time to learn these HVAC troubleshooting techniques is a valuable investment. Doing so will give you the confidence to handle more straightforward repairs yourself and help you identify when your unit needs professional assistance.
In the end, understanding your HVAC system’s common issues can be incredibly helpful and cost-effective in maintaining proper working order.
At Rod Miller, we’re here to assist with your repair and maintenance needs. Should you encounter any further concerns with your system, please don’t hesitate to reach out for help!